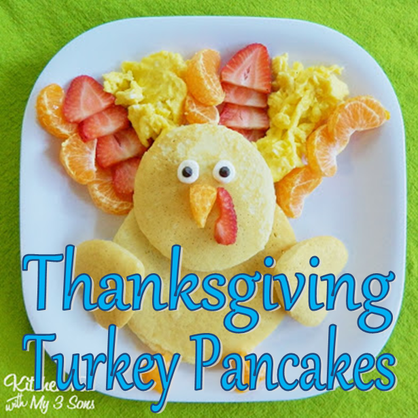
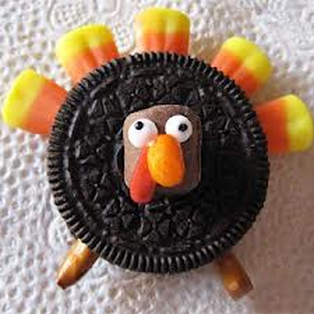
Last year on Christmas morning my sister decided she wanted to make some festive reindeer pancakes for the family to enjoy. (You can check out our Christmas pancakes here.) We all loved our reindeer pancakes and may have to become a tradition on Christmas morning now. So now that you have a little background into my family's holiday pancake test run you will better understand why I am slightly obsessed with today's post. A week or two ago I ran across a pin on Pinterest of these turkey pancakes from blogger Kitchen Fun with My Three Sons. As soon as I saw them I remembered how much fun we had making our reindeer pancakes at Christmas and immediately sent the picture to my sister seeing if she wanted to try making these for Thanksgiving. We will have to see if we actually get around to making them after our Turkey Trot run, but my fingers are crossed that we do! Here is how you can make your own Turkey day pancakes...
Ingredients for 1 Turkey Pancake
Directions
You now have a festive holiday breakfast treat to enjoy before you start digging into your Thanksgiving Day feast! I will make sure to post a picture if we end up making these next Thursday.
Do you have a favorite Thanksgiving day treat you like to make? Let me know if you end up making these and post a link to your picture in the comments section below. I would love to see how your turkey pancakes come out! Have a great weekend!!
xoxo
Megan
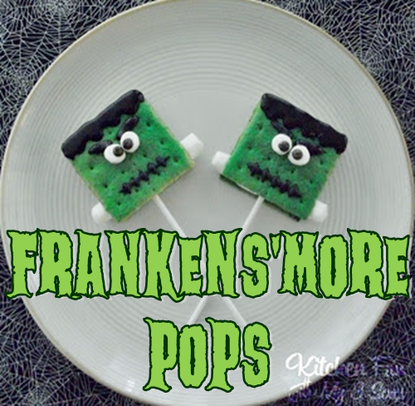
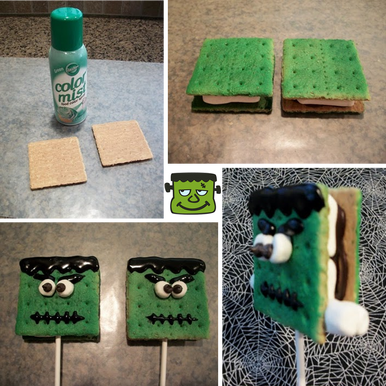
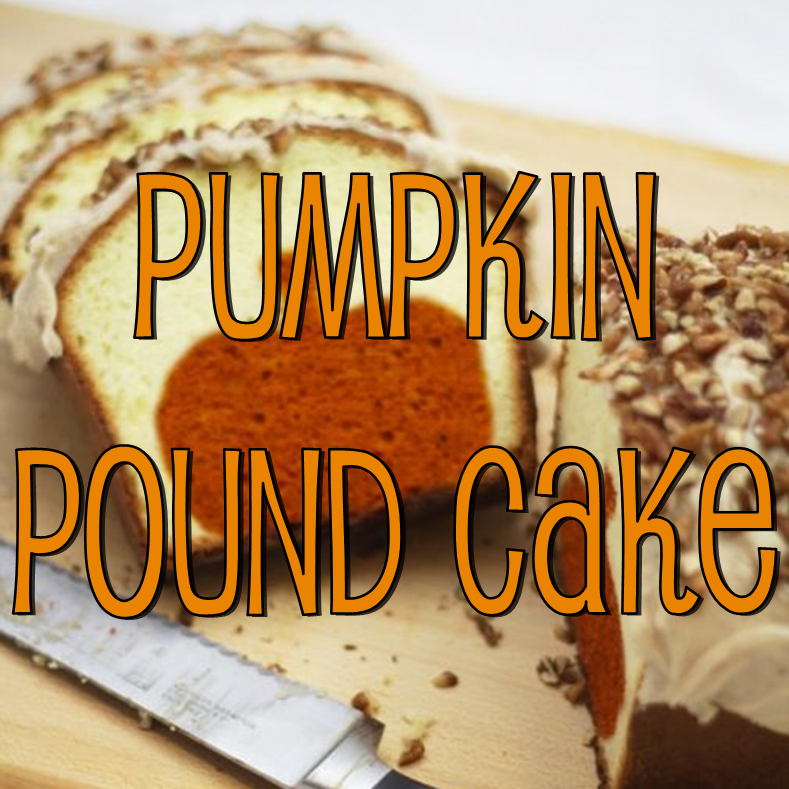
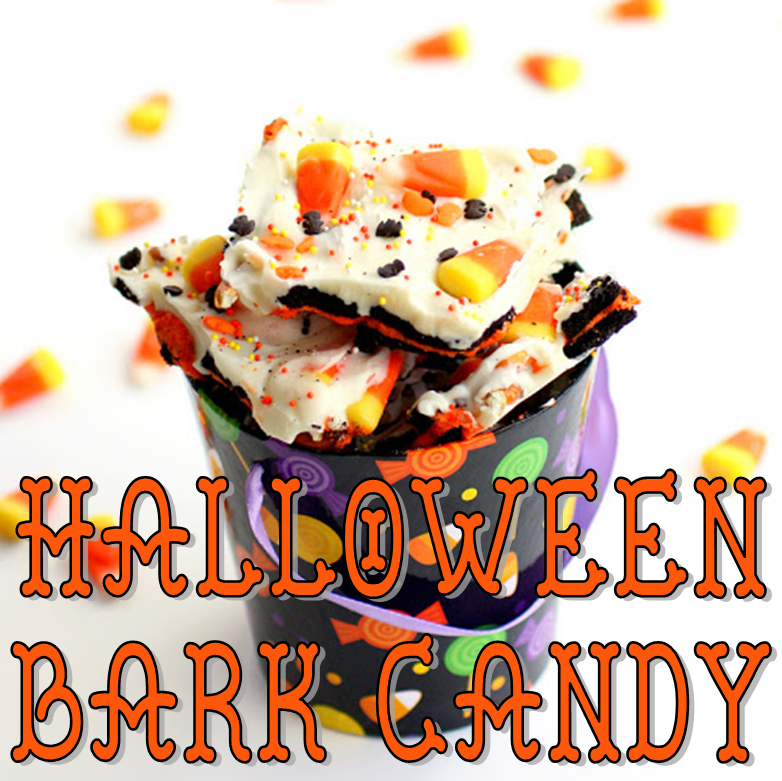
You might also like...
Ingredients for 1 Turkey Pancake
- Pancake Mix
- 1 Strawberry
- 1 Clementine
- 2 Eggs Scrambled
- 1 Mini Marshmallow
- 2 Mini Chocolate Chips
- Cookie Cutters, a Knife or Kitchen Sheers
Directions
- Mix your pancake batter according to your recipe.
- Once you have your batter ready pour 1 large pancake for the body, 1 medium pancake for the head and two smaller pancakes for the wings. They don't have to be perfectly sized as you can trim them later.
- Once your pancakes are done place them on a plate and trim. You can use round cookie cutters for the body and head and a heart shaped cookie cutter for the wings. If you don't have cookie cutters you can use a sharp knife or kitchen sheers to create your turkey body.
- After you have created your turkey body its time to scramble the eggs and prepare your fruit.
- When your eggs are ready and your fruit is peeled and cut arrange your strawberry, clementine and eggs to form the feathers. Take 3 clementine halves to form the feet and beak and a sliver of a strawberry to form the wattle.
- For the final touch take the mini marshmallow, cut it in half and stick one mini chocolate chip on each piece to create the eyes.
You now have a festive holiday breakfast treat to enjoy before you start digging into your Thanksgiving Day feast! I will make sure to post a picture if we end up making these next Thursday.
Do you have a favorite Thanksgiving day treat you like to make? Let me know if you end up making these and post a link to your picture in the comments section below. I would love to see how your turkey pancakes come out! Have a great weekend!!
xoxo
Megan
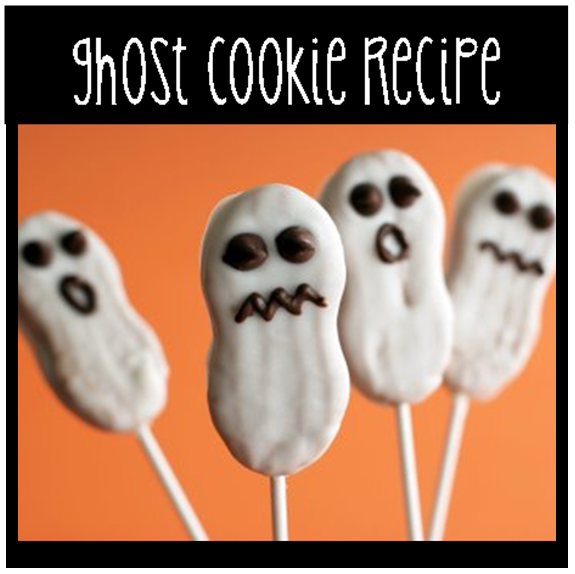
You might also like...


 RSS Feed